

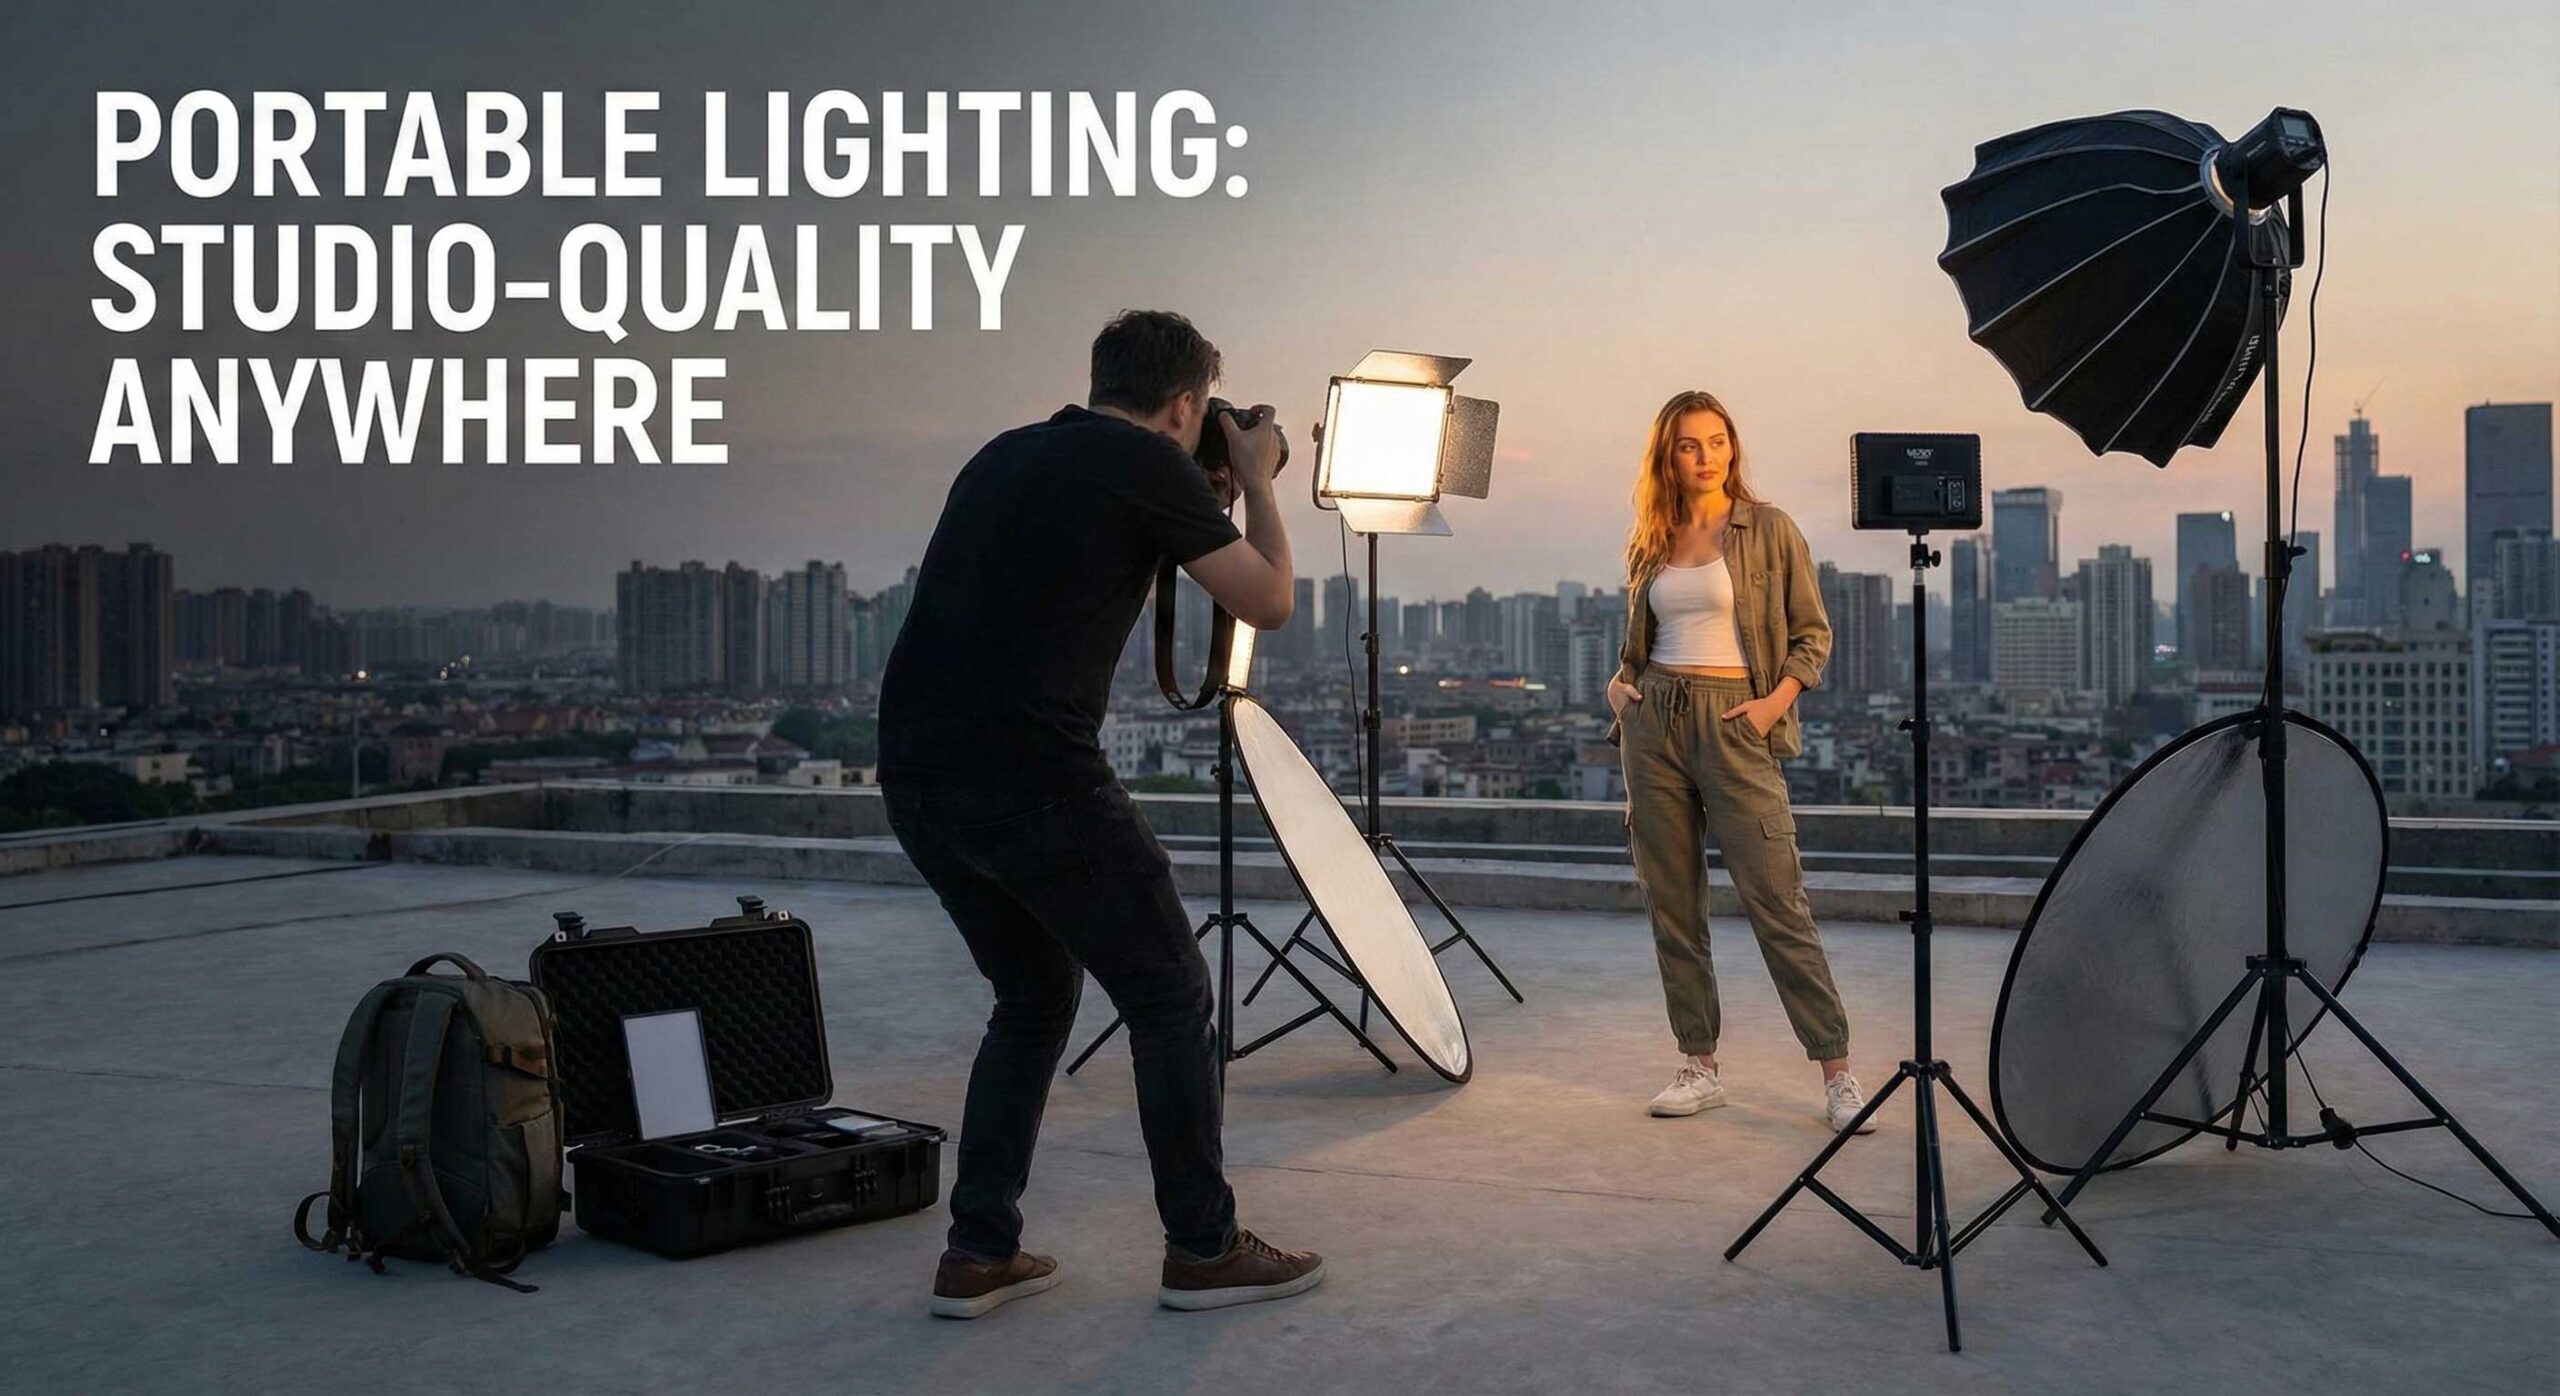
The freedom to create professional-quality content anywhere, anytime has become essential for modern content creators. Whether you’re filming travel vlogs in remote locations, conducting interviews on-site, or simply need the flexibility to work from different spaces throughout your day, portable lighting enables studio-quality results without being tethered to a fixed location. This comprehensive guide explores how to build and optimize portable lighting setups that deliver professional results regardless of where your content takes you.
Understanding the Portable Lighting Challenge
Creating studio-quality lighting in varied locations presents unique challenges that fixed studio setups never encounter. You’re dealing with unpredictable ambient light conditions, limited or unreliable power sources, space constraints in vehicles and luggage, weight limitations for travel and handheld work, and the need for quick setup and breakdown between locations.
Traditional studio lighting prioritizes output and quality without concern for portability. Portable lighting requires balancing professional quality with practical constraints like size, weight, and power requirements. Understanding this balance is crucial for building an effective portable kit.
Battery-Powered vs. AC-Powered Portable Lights
The first fundamental decision in portable lighting is power source. Battery-powered lights offer ultimate flexibility, operating anywhere without electrical outlets. Modern lithium batteries provide hours of runtime in compact packages, making truly location-independent filming possible. The downside is limited runtime requiring spare batteries, generally lower maximum output compared to AC-powered equivalents, and battery degradation over time requiring eventual replacement.
AC-powered portable lights provide unlimited runtime when power is available and typically offer higher maximum output for the same size and price. However, they tether you to electrical outlets, limiting location options and potentially creating trip hazards with power cables. Many professional creators use hybrid setups with both battery and AC-powered options, choosing based on specific shooting scenarios.
For maximum versatility, prioritize lights offering both battery and AC power options. This dual-power capability provides flexibility to run on batteries when necessary while taking advantage of AC power when available to conserve batteries and access maximum output.
Size and Weight Considerations
Every ounce matters when you’re carrying lighting equipment alongside cameras, lenses, microphones, and other gear. The temptation to pack “just one more light” can result in overwhelming loads that sap your energy and enthusiasm before you even start filming.
Compact LED panel lights have revolutionized portable lighting by delivering impressive output in surprisingly small packages. A light that fits in a backpack side pocket might provide sufficient illumination for interviews or product shots. Larger panels offer more power but require dedicated bag space and add significant weight.
Consider your typical filming scenarios when choosing sizes. Solo creators filming themselves need less power than those lighting multiple subjects or large areas. Close-up product work requires less output than full-body shots. Match your light size to your actual needs rather than buying the biggest option available.
Building a Minimalist Portable Kit
The most effective portable lighting kits embrace minimalism, including only what you’ll actually use regularly. A single versatile key light handles most situations competently. Add a collapsible reflector for fill light without extra powered lights. Include a small RGB panel for creative backgrounds and accent lighting when needed.
This three-element approach—one main light, one reflector, one accent light—covers the vast majority of portable filming scenarios while remaining manageable to transport and quick to set up. You can create professional three-point lighting setups, handle interviews and talking-head content, shoot product reviews and demonstrations, and add creative elements without overwhelming gear.
As you identify consistent gaps in your kit through actual use, add specific tools to address them. Don’t pre-emptively pack for every possible scenario—you’ll end up with unusable weight and complexity.
Light Modifiers for Portable Setups
Hard, direct light rarely flatters subjects, but carrying large softboxes undermines portability. Fortunately, compact light modifiers designed specifically for portable use solve this problem effectively.
Collapsible softboxes fold flat for transport and spring open for use, providing soft, diffused light in seconds. These typically add minimal weight while dramatically improving light quality. Small umbrellas offer similar benefits with even simpler setup, though they’re slightly bulkier to pack. Diffusion panels stretch over lights or mount on separate stands, adding versatility for minimal weight.
Invest in at least one good quality collapsible modifier for your main light. The improvement in subject flattery justifies the minor addition to your pack weight. Skip modifiers for accent and background lights where harder light often works effectively.
Power Management Strategies
Running out of battery power mid-shoot in a location without electrical access creates frustrating disruptions. Effective power management prevents this scenario through careful planning and smart practices.
Calculate your total filming time and multiply by 1.5 to account for setup, testing, and unexpected extensions. Check manufacturer specifications for runtime at various power levels—most lights run significantly longer at 50-75% output than at maximum. Carry spare batteries equal to your extended runtime calculation, stored charged and ready.
Implement power-saving practices like dimming lights to minimum necessary levels rather than maximum output. Turn off lights during breaks and setup rather than leaving them running. Use AC power whenever available to preserve battery charge for truly portable scenarios.
Consider USB-C rechargeable batteries that can charge from portable power banks. This allows you to recharge batteries during lunch breaks or while traveling between locations using the same power banks that charge your phone and camera.
Adapting to Available Light
The best portable lighting setups work with available ambient light rather than fighting against it. Attempting to overpower bright sunlight with portable lights wastes battery power and creates mixed color temperature issues. Instead, use available light as your foundation and add portable lighting strategically.
Window light provides beautiful, soft illumination that portable lights enhance rather than replace. Position subjects near windows and use a single battery-powered light as fill to soften shadows. The window becomes your key light, and your portable light supplements rather than dominates.
During golden hour outdoors, natural light creates stunning warm tones. A small reflector to bounce light into shadows often proves more effective than additional powered lights. Save battery power for situations where you genuinely need it rather than using lights simply because you have them.
Cloudy days provide naturally soft, diffused light perfect for portraits and interviews. Again, strategic use of reflectors or minimal fill lighting enhances what’s already working rather than rebuilding the lighting from scratch.
Quick Setup Techniques
Time wasted on lighting setup is time not spent creating content. Efficient portable workflows prioritize speed without sacrificing quality.
Develop a standard positioning approach you can execute quickly. For interview setups, always place your key light at 45 degrees camera right, fill at camera left, and background light behind and to the side. Muscle memory from repetition makes setup nearly automatic.
Use memory settings if your lights support them, saving preferred configurations for different scenarios. One setting for interviews, another for product shots, a third for creative content. Recall appropriate settings instantly rather than adjusting from scratch each time.
Pre-attach lights to stands before packing when possible. Fold the stand with light attached, secured with velcro straps. At location, unfold the stand and you’re ready immediately. This saves the fiddly process of attaching lights in potentially difficult conditions.
Weather and Environmental Considerations
Portable filming often involves challenging conditions studio creators never encounter. Preparation for these challenges prevents equipment damage and maintains consistent results.
Moisture and electronics don’t mix, but portable filming often involves humid environments or unexpected weather. Pack silica gel packets with your lights to absorb moisture during transport. Allow lights that have been in cold conditions to warm to room temperature before turning them on to prevent condensation issues. Carry plastic bags or rain covers for emergency protection if weather turns unexpectedly.
Extreme temperatures affect battery performance significantly. Cold weather reduces battery capacity and runtime, sometimes dramatically. Keep spare batteries in interior pockets close to your body to maintain temperature. Hot conditions can cause batteries to drain faster and may trigger thermal protection shutdowns in lights. Shade your equipment when possible and allow cooling breaks when needed.
Dusty or sandy environments require extra care. Use protective bags during transport and keep equipment covered when not actively in use. Never change batteries in dusty conditions if avoidable—you risk introducing particles into battery compartments that can cause failures.
Transportation and Protection
Even rugged equipment benefits from proper protection during transport. Purpose-built lighting cases offer maximum protection but add weight and bulk. Padded backpacks designed for photo gear provide good protection with better portability. Foam dividers or padded wraps protect individual lights within standard bags.
Consider how you’ll actually transport gear when choosing protection methods. Dedicated cases work well for car-based shoots where you load once and drive to location. Backpack systems serve better for situations requiring walking any distance or using public transportation.
Label batteries with numbers or letters and track their usage patterns. Retire batteries that show significantly degraded capacity before they fail completely during important shoots. This proactive approach prevents frustrating situations where you think you have adequate power but batteries drain unexpectedly.
Testing Before You Travel
Nothing is more frustrating than discovering equipment issues after arriving at a remote location. Comprehensive pre-trip testing prevents most problems.
Charge all batteries fully and verify they hold charge. Old batteries may show full initially but drain rapidly under load. Test each battery under actual working conditions before relying on it for important shoots. Check all mounting hardware is present and functional. Missing a small adapter or mounting screw can render equipment unusable.
Pack a small toolkit with essential tools for minor repairs or adjustments. A multi-tool, spare mounting screws, velcro straps, and gaffer tape solve most field issues. These items weigh ounces but provide enormous value when needed.
Maximizing Versatility
The most effective portable lighting approaches prioritize versatility, where single pieces of equipment serve multiple purposes. A bi-color panel works as key light, fill light, or background light depending on positioning. A reflector provides fill, bounce, or negative fill to add shadows. Clamps and articulating arms allow mounting lights in countless configurations.
This versatile approach allows smaller, lighter kits to handle diverse filming scenarios. Rather than packing specific tools for specific tasks, pack adaptable tools you can configure as needed. This philosophy reduces weight while increasing capability.
Learning Through Experience
Your ideal portable lighting kit evolves through actual field use rather than theoretical planning. What seems essential at home may prove unnecessary in practice, while unexpected gaps emerge only through experience.
After each shoot, note what worked well and what you wished you had. Did you use every light you packed, or did some stay in the bag? Were there moments when different modifiers would have helped? Did battery life meet your needs or fall short?
Adjust your kit based on these real-world learnings. Remove items that consistently go unused. Add solutions for problems you repeatedly encounter. This iterative refinement creates a portable lighting kit perfectly matched to your actual working style and content needs.
Conclusion
Creating studio-quality lighting anywhere requires balancing professional results with practical portability constraints. Success comes from thoughtful equipment selection, efficient setup techniques, and working intelligently with available light rather than fighting against it.
The goal isn’t replicating your entire studio in portable form—it’s identifying the essential tools that deliver professional results while remaining manageable to transport and quick to deploy. Start minimal and expand based on genuine need rather than imagined scenarios. Prioritize versatility over specialization, allowing fewer tools to handle more situations.
With proper planning, efficient workflows, and equipment matched to your actual needs, portable lighting enables professional content creation anywhere your work takes you. The freedom this provides expands your creative possibilities while building skills that serve you whether you’re filming in a home studio or on the side of a mountain.