

Professional product photography can make or break online sales, yet many sellers believe they need expensive studios and professional equipment to capture compelling images. The truth is that with smart lighting techniques and creative problem-solving, you can create stunning product photos right at home using minimal equipment. This comprehensive guide reveals the lighting hacks professional photographers use to create studio-quality product images without dedicated studio spaces or massive budgets.
Understanding Product Photography Lighting Needs
Product photography has different requirements than portrait or video work. Your goal is showing products clearly with accurate colors, revealing important details and textures, eliminating distracting shadows, and creating consistent looks across your entire catalog. Customers can’t physically examine products when shopping online, so your photos must convey everything they need to make confident purchasing decisions.
Lighting for products emphasizes clarity and accuracy over artistic mood. While portrait lighting might use dramatic shadows for effect, product lighting typically aims for even, clear illumination that shows items exactly as they appear in real life. Misleading photos lead to returns and negative reviews—accurate representation builds trust and reduces problems.
The Window Light Advantage
Natural window light provides the best free lighting source available to home-based sellers. North-facing windows in the Northern Hemisphere (south-facing in the Southern Hemisphere) offer consistent, soft light throughout the day without direct sunlight’s harsh qualities. This indirect natural light creates beautiful, even illumination perfect for product photography.
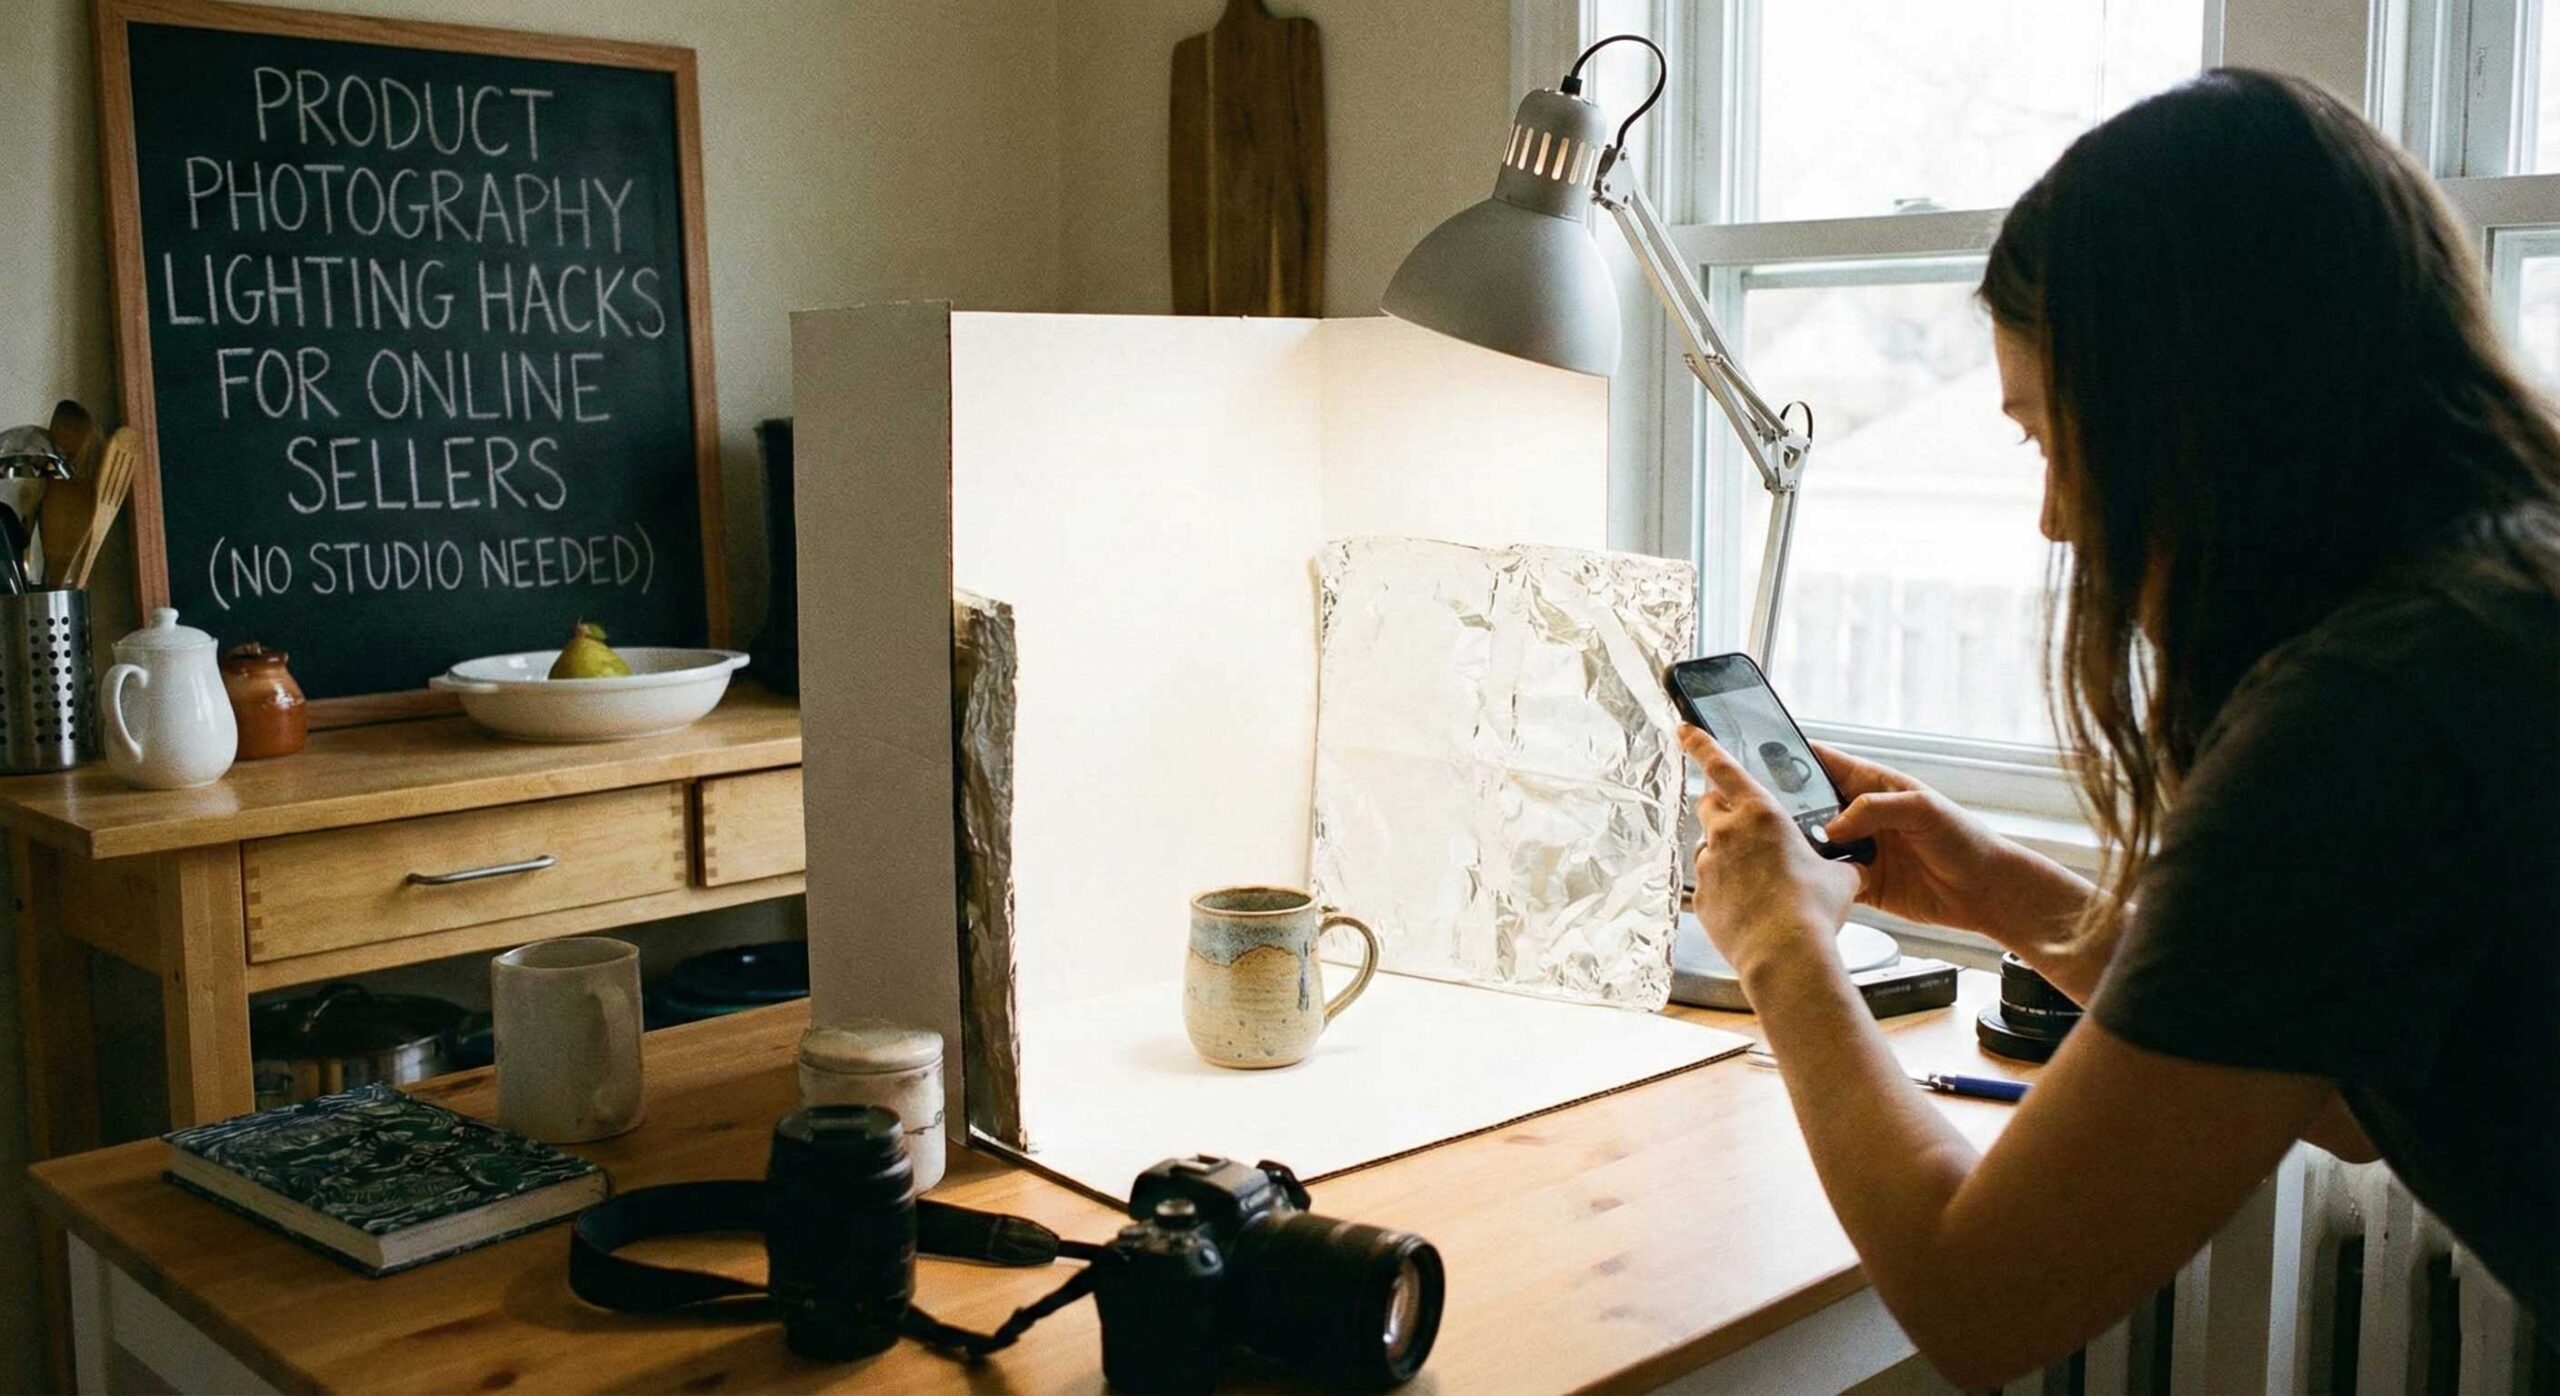
Position your product near the window with the light coming from the side rather than directly behind or in front. Side lighting reveals texture and dimension while maintaining clarity. Place a white poster board, foam core, or even a white bedsheet opposite the window to bounce light back into shadows. This simple reflector setup creates professional two-light results using only one light source.
Overcast days provide incredibly soft, diffused light that’s actually ideal for product photography. The clouds act as a giant softbox, creating shadowless illumination that shows products clearly without harsh contrasts. Don’t wait for sunny days—embrace cloudy weather for product photography sessions.
Creating a DIY Light Tent
Light tents (also called light boxes) create perfectly even lighting for small products by surrounding them with diffused light from all sides. You can purchase small light tents affordably, but making your own costs almost nothing and works just as well.
Use a large cardboard box and cut out the sides, leaving frames about two inches wide. Cover these openings with white tissue paper, parchment paper, or thin white fabric to create diffusion panels. Place the box on its side so the opening faces you, creating a shooting area inside. Position lights or use window light shining through the diffusion panels from the sides and top.
The interior should be lined with white paper or fabric to maximize light reflection and create seamless backgrounds. This setup eliminates shadows and creates the clean, professional white-background photos perfect for e-commerce listings. Products appear to float against pure white, focusing attention entirely on the item itself.
The Single Light and Reflector Technique
You don’t need multiple lights to create professional results. One good light source plus strategic reflector use can achieve surprisingly sophisticated lighting setups. Position your primary light at a 45-degree angle from your product, elevated slightly. This creates gentle shadows that add dimension.
Use white foam core boards, large white cardboard, or professional photography reflectors positioned opposite your light to bounce illumination back into shadows. Silver reflectors create brighter, more specular reflections. Gold reflectors add warm tones that can enhance certain products. White reflectors provide neutral fill without altering color temperature.
For products with challenging reflective surfaces, position reflectors to control what reflects in the surface. A large white reflector above and to the sides of jewelry or glass products creates clean, bright reflections instead of showing your room’s messy background in every reflective surface.
Smartphone Photography Lighting Tips
Many sellers shoot product photos with smartphones rather than dedicated cameras. Smartphone cameras perform remarkably well in good lighting but struggle in poor light. Maximize your phone camera’s capabilities by always using external lighting rather than built-in flash. Phone flashes create harsh, unflattering light with strong shadows and color casts.
Use your phone’s exposure compensation to manually adjust brightness rather than accepting auto settings. Tap on your product on the screen to set focus, then swipe up or down to adjust exposure. Slightly overexposing can help with white backgrounds, while proper exposure ensures accurate color representation.
Enable grid lines in your camera settings to help with composition and keeping products level. Shoot in your phone’s highest quality settings, and if available, use RAW mode for maximum editing flexibility. Natural light or continuous LED lights work much better with smartphone cameras than flash photography.
Managing Reflective and Transparent Products
Reflective products like jewelry, electronics, or polished metal present special challenges because they show reflections of everything around them, including lights, equipment, and your workspace. The solution is controlling what they reflect rather than trying to eliminate reflections entirely.
Surround reflective products with large white or black surfaces that create clean, controlled reflections. A white seamless background that curves up behind the product creates beautiful gradient reflections in metallic surfaces. Position your lights to reflect pleasingly in the product rather than creating hot spots or showing light fixtures.
For glass and transparent items, backlighting often works better than front lighting. Place the product on a translucent white surface with light underneath or behind it. This illuminates the glass from within, showing its transparency and creating attractive glows. Combine backlighting with minimal front lighting to show details while maintaining the transparent quality.
Color Accuracy for Product Photos
Accurate color representation is crucial for online selling. Customers who receive products that don’t match the photos in your listings will return items and leave negative reviews. Proper lighting combined with correct white balance ensures your photos show true colors.
Photograph in consistent lighting conditions and use the same white balance setting across your entire product line. If using LED lights, ensure they have high CRI ratings (95+) for accurate color rendering. Cheap lights with poor color rendering can make blue items look purple or make reds appear orange.
Include a color reference card or gray card in test shots to ensure accurate color in post-processing. Many photo editing programs can use these references to correct color balance precisely. Once you establish correct color, you can apply the same settings to all photos shot under identical lighting.
Quick Setup and Teardown Solutions
Many home-based sellers don’t have dedicated photography spaces and need setups they can deploy quickly and store compactly. Portable solutions maximize flexibility without sacrificing quality.
Folding tables create temporary photo surfaces you can set up anywhere with good light. Cover them with white poster board or fabric for clean backgrounds. Clamp lights to nearby furniture or use lightweight stands that fold flat for storage. Keep all photography equipment in one container you can pull out for shooting sessions and pack away afterward.
Develop a consistent setup routine so you can recreate the same lighting and positioning each time. Take photos of your setup showing light positions, camera height, and product placement. This documentation ensures consistency across product lines and makes setup faster each session.
Background Solutions Without Seamless Paper
Professional seamless paper backgrounds create clean looks but require stands and storage space many home sellers lack. Several alternatives achieve similar results with minimal equipment.
Large white poster boards from office supply stores work perfectly for small to medium products. Curve the board to create a seamless transition from surface to background. White foam core is sturdier and reusable across many photo sessions.
White bed sheets or fabric from fabric stores create flexible backgrounds for larger items. Clip them to walls or doors, ensuring they’re wrinkle-free through ironing or steaming. The fabric’s flexibility allows creating curved backgrounds for that seamless professional look.
For very small items like jewelry, white plates, tiles, or even thick white paper provides adequate background surfaces. The key is ensuring whatever you use is pure white without texture or pattern that might distract from your product.
Lighting Different Product Categories
Different product types benefit from specialized lighting approaches that emphasize their unique characteristics.
Clothing requires soft, even lighting that shows fabric texture and accurate colors. Hang items or use a mannequin positioned near window light with a reflector for fill. Iron or steam items to eliminate wrinkles—no amount of good lighting fixes wrinkled clothing.
Food photography benefits from slightly harder light that creates some shadows and emphasizes texture. Natural window light works beautifully for food, creating that fresh, appetizing look customers expect. Shoot food quickly while it looks its best—many food items deteriorate rapidly under lights.
Electronics need clean, reflection-controlled lighting that shows screens and finishes clearly. Use large soft light sources to create smooth reflections in screens. Angle products slightly to avoid direct reflections of lights or windows in glossy screens.
Textured items like wood, fabric, or stone benefit from light positioned at angles that create small shadows emphasizing texture. Light coming straight-on flattens texture, while side lighting reveals surface details that help customers understand what they’re purchasing.
Editing for Consistency
Even perfect lighting benefits from basic editing to ensure consistency across your product catalog. Simple adjustments in brightness, contrast, and color create cohesive looks that make your store appear professional and trustworthy.
Develop a basic editing workflow you apply to all product photos. This might include cropping to consistent sizes, adjusting brightness and contrast, correcting color balance, and sharpening slightly for web display. Many photo editing programs allow saving these adjustments as presets you can apply with one click.
For white background photos, use background removal tools or careful masking to ensure pure white (#FFFFFF) backgrounds. This creates the clean, professional look expected on major e-commerce platforms and allows your products to integrate seamlessly with various website designs.
Budget-Friendly Equipment Recommendations
You don’t need expensive gear to create professional product photos. Essential items that dramatically improve results include white foam core or poster board for reflectors and backgrounds, affordable LED panel lights with adjustable brightness, a basic camera tripod or smartphone holder to eliminate camera shake, and simple clamps or clips for positioning backgrounds and reflectors.
Avoid buying expensive equipment until you’ve mastered the basics with simple gear. Many sellers create stunning product photos using just natural window light, white foam board, and smartphone cameras. Technique matters far more than equipment for product photography success.
Conclusion
Professional-looking product photography doesn’t require professional studios or expensive equipment. Understanding basic lighting principles, leveraging natural window light, using simple reflectors strategically, and applying consistent techniques across your product line creates compelling images that drive online sales.
The key is consistency and accuracy rather than artistic perfection. Customers want to see exactly what they’re buying shown clearly and attractively. Focus on even lighting that shows products honestly, accurate colors that match real-life appearance, and clean presentations that highlight products without distraction.
Start with the simplest setup that works for your products and expand only as genuine needs emerge. Many successful online sellers photograph their entire inventory using nothing more than window light and foam core reflectors. Master these fundamentals before investing in additional equipment, and you’ll develop skills that serve you regardless of what gear you eventually use.
Product photography is a learnable skill that improves with practice. Your first attempts may not be perfect, but each session teaches you more about lighting, positioning, and creating images that sell. The investment of time learning proper product photography techniques pays dividends through increased sales, fewer returns, and stronger customer trust in your brand.